Tight VNC installation and usage instructions .
TightVNC (VNC) is a free (free) remote computer control system. You can learn more about this and what the free terms of use are here http://www.tightvnc.com/download.php
Keep in mind that this system prevents uncontrolled access to your computer if you do not want it. You are the initiator of providing your computer with a connection to the computer's AVS server (by entering an IP address). This allows you to get the latest version of the program at any time to get help. This is very handy when you need help from programmers and system administrators. When the Help session ends, you are disconnected from the AVS computer and your computer is closed to external access. It is useful to read information on the Internet about the use of TightVNC and the license terms.
1. Installation
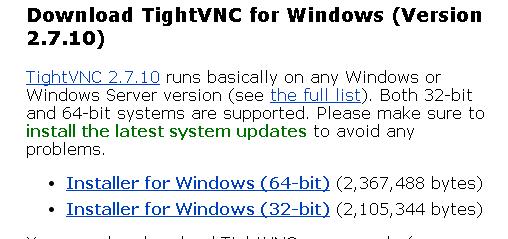
When you choose to install VNC, you need to find out what processor is installed on your computer. For older computers it is 32-bit, for newer computers it is 64-bit. Depending on when you need to select the setup file option in your internet browser after running http://www.tightvnc.com/download.php :
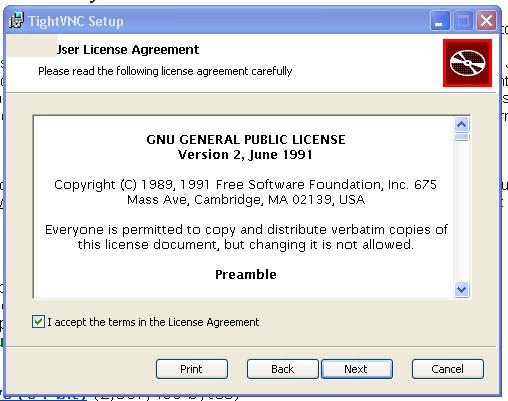
When
you run the installation, the following interface appears
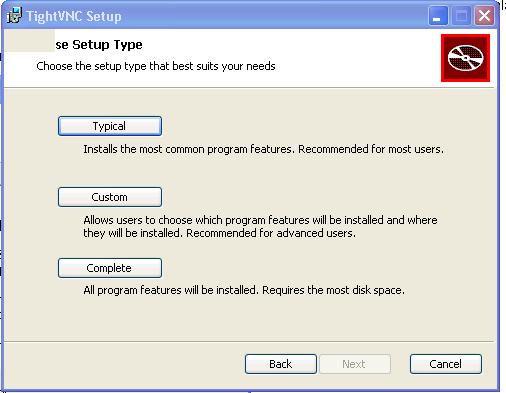
Choose
the standard (Typical) option
Make
settings marks as shown below
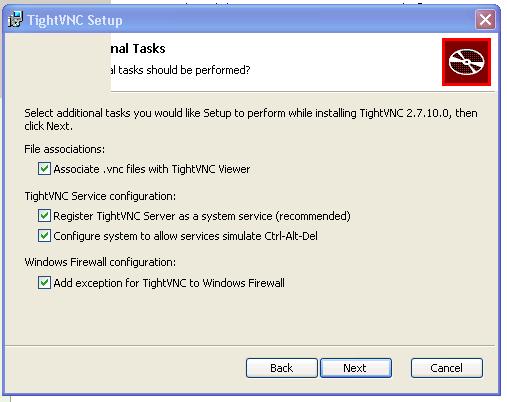
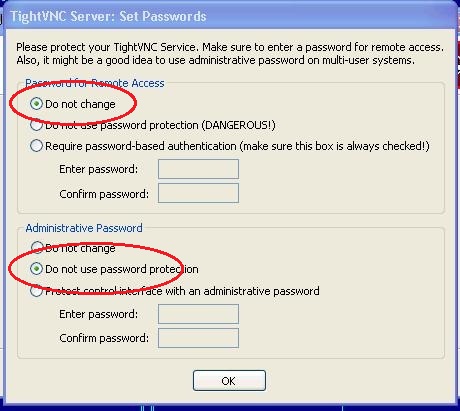
You
should also select the following settings (“Do not change”)
Immediately
after installation in the lower right corner or under the icon
![]()
![]()
This
is the launch icon for TightVNC . Before starting, you need to
contact the AVS specialist
whose
help you want to get. Employee contacts are visible here
https://www.avs.lv/index.html#kontakti
By lightly touching the right mouse button on this icon, a menu appears
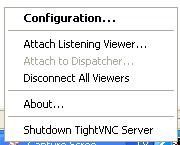
You
need to select “Attach Listening Viewer”
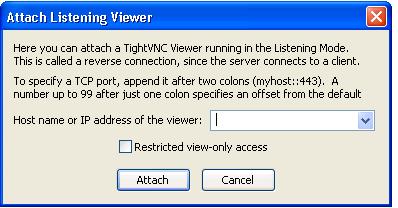
Before entering the address and port, you need to contact the AVS employee, who will announce this.
After connecting to AVS and getting help, you need to exit the TightVNC program
AVS
